


Here are photos showing some of the steps involved in making my May ring...
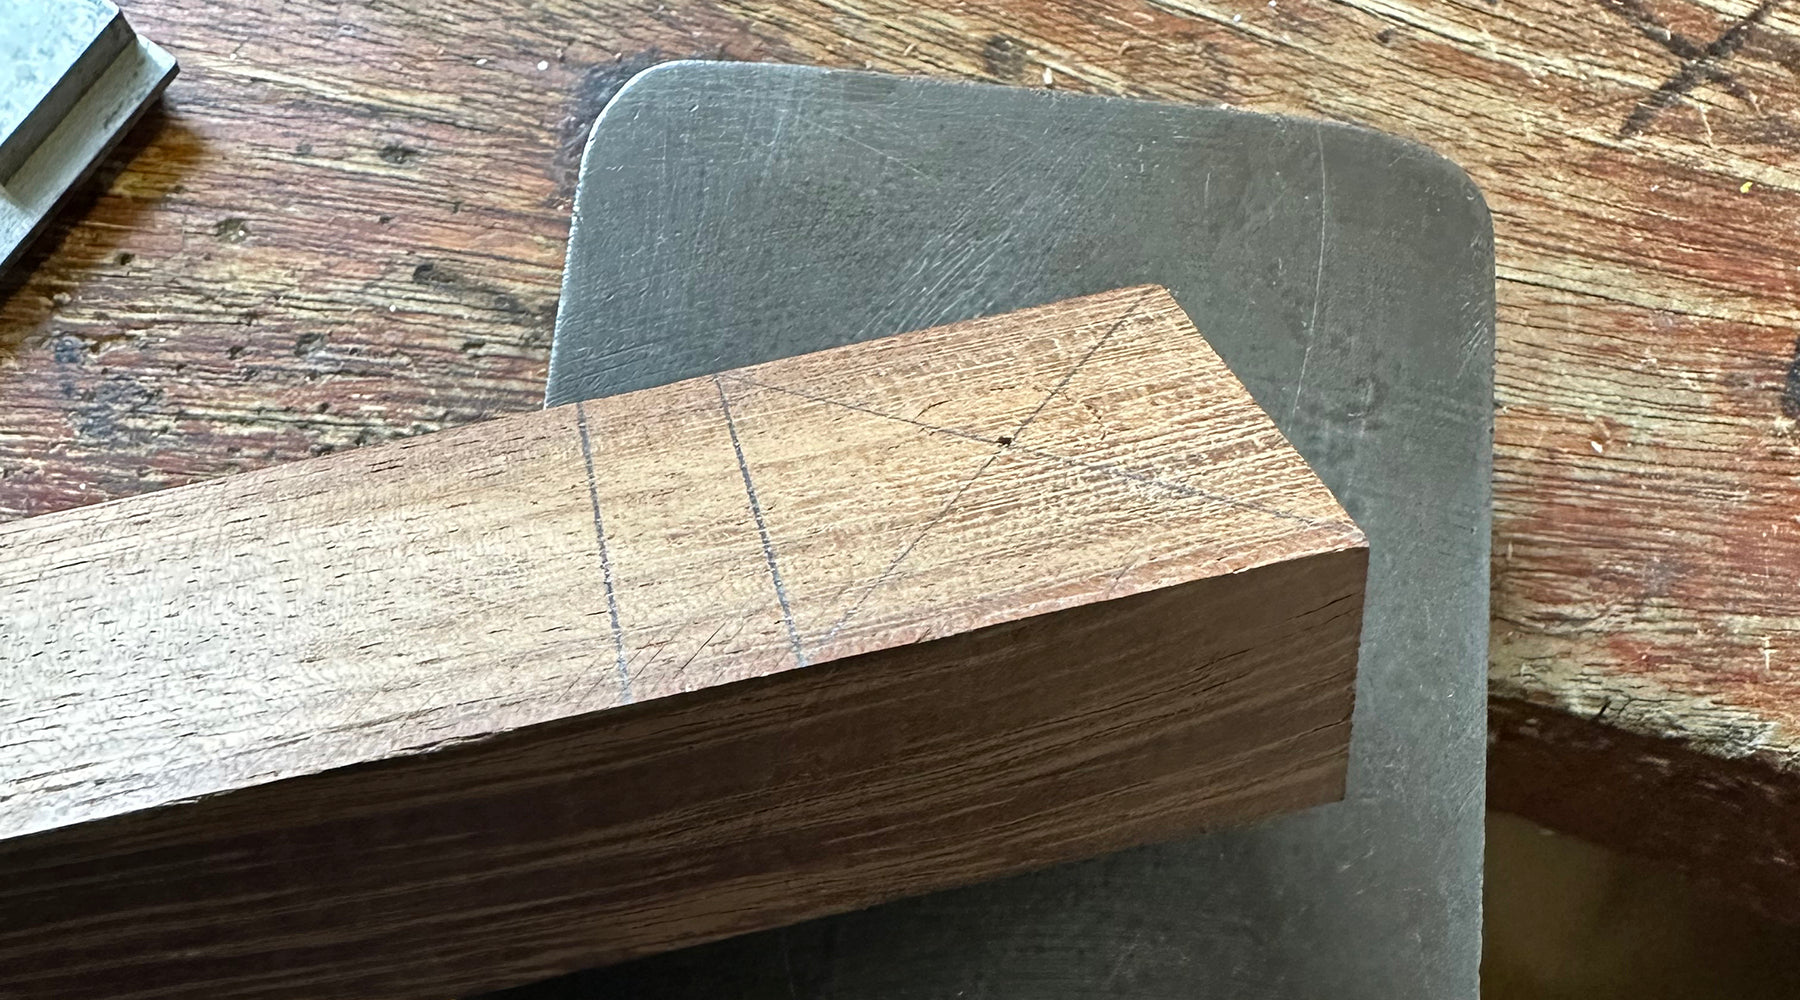 Starting with a block of wood.
 The wood is clamped to my bench and I'm drilling through to start the shank - tricky when you don't really have the right tools!
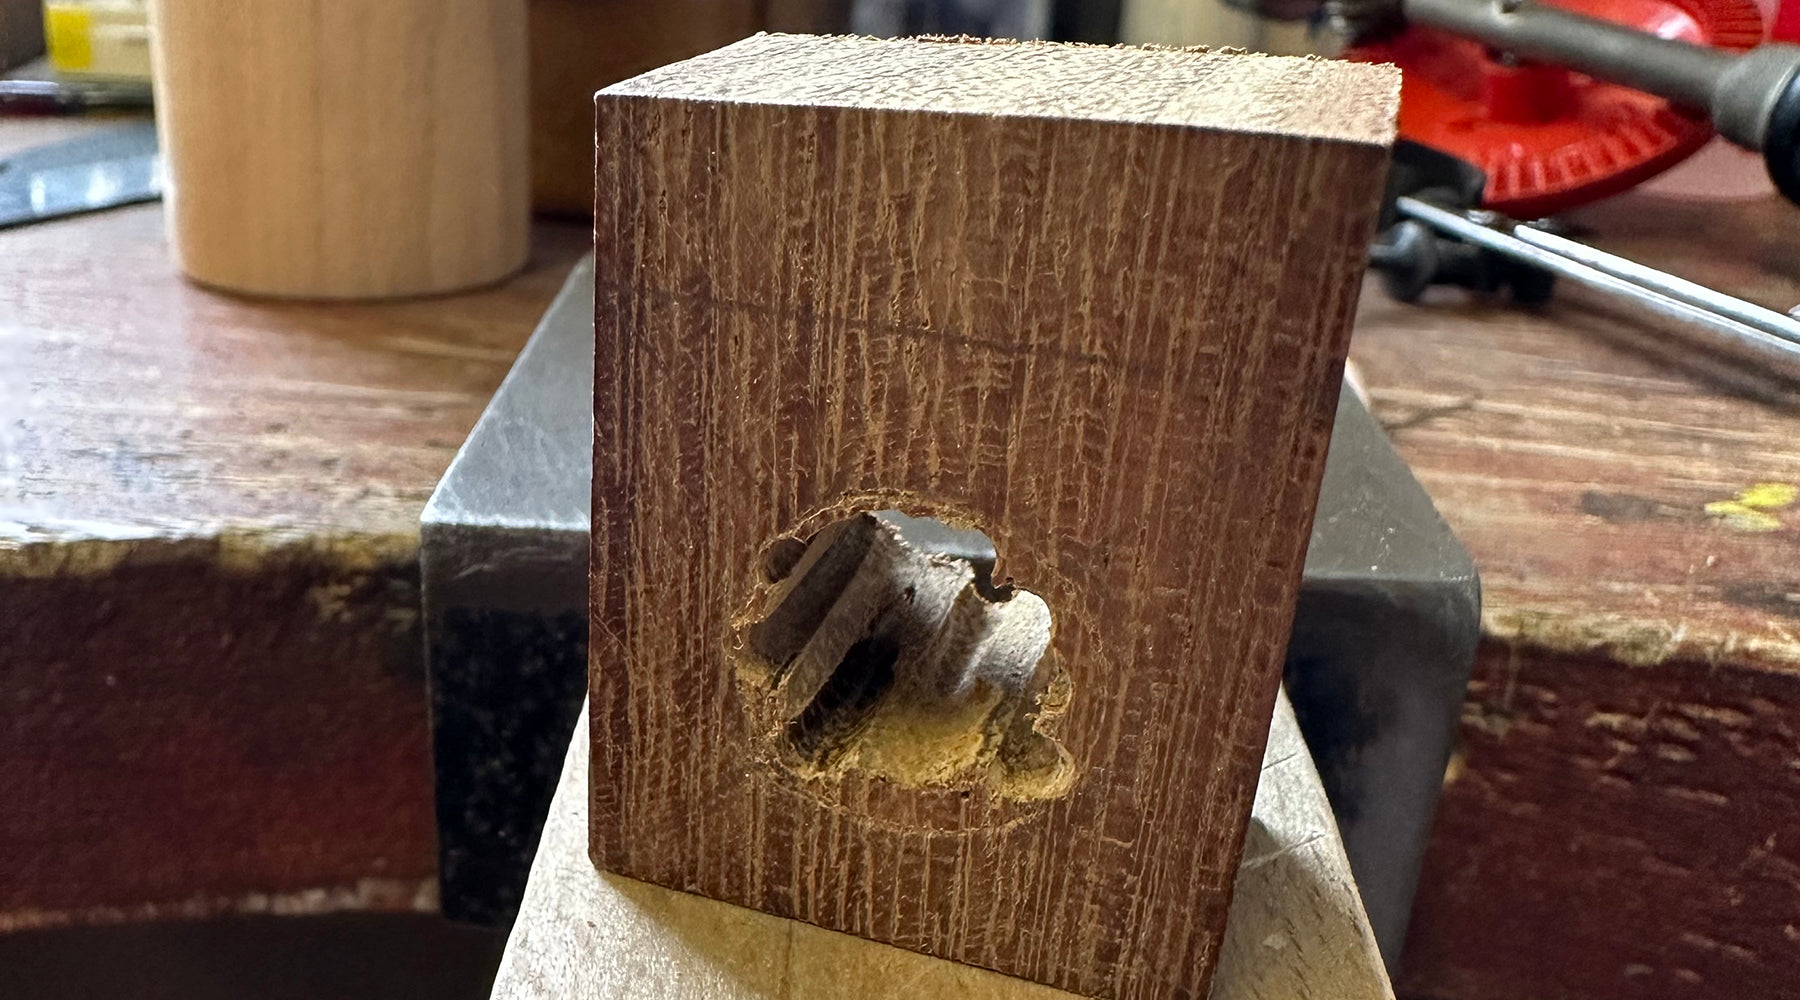
Made it all the way through the ring and then after this I used a piercing saw to get closer to a circle.
 The shank remains a bit wonky but it looks more like a ring.
 The tapered shape of the ring made glueing the laminate a bit of a challenge. I used my studio door wedge to help.
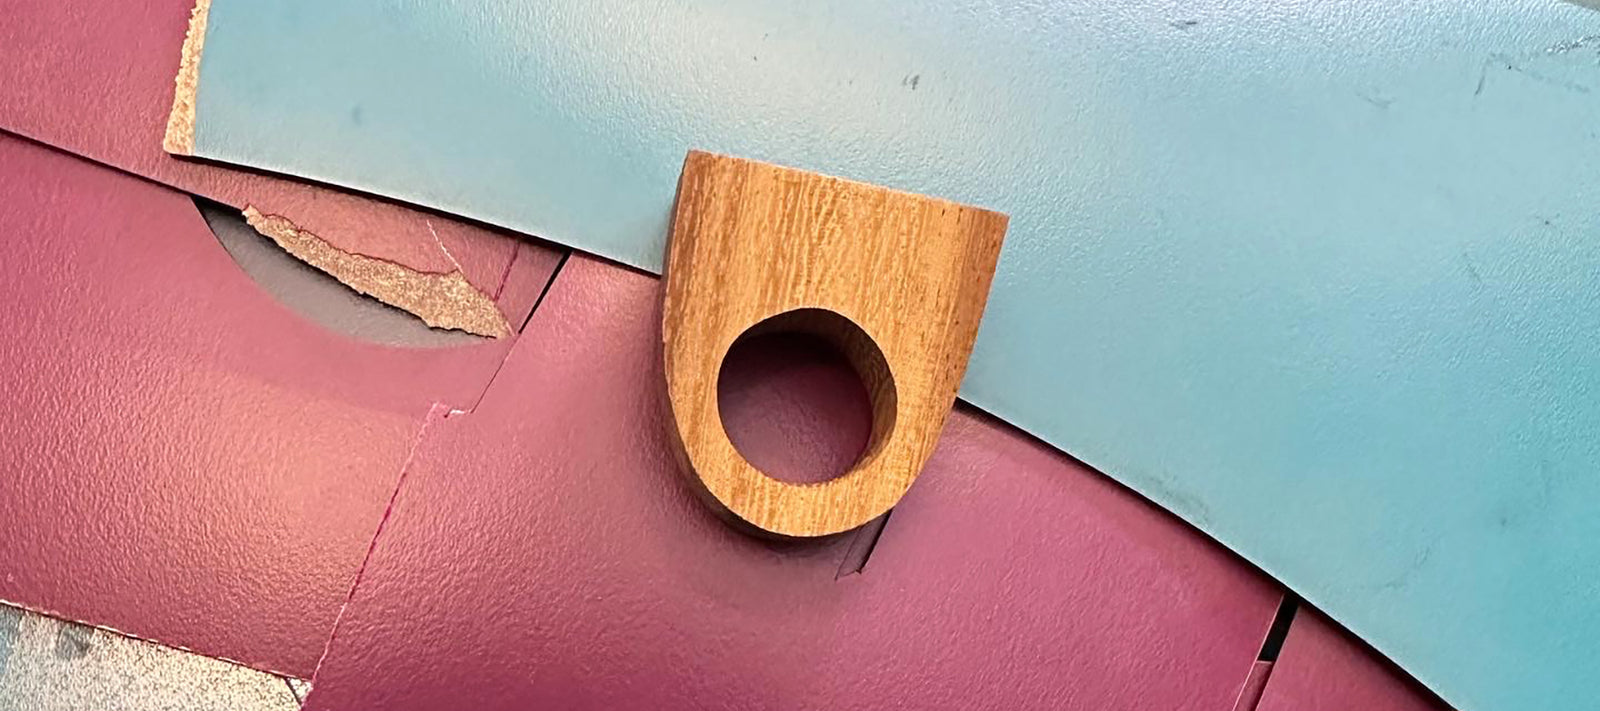
 Turquoise laminate successfully glued to the wood. Now to drill through and get the circle back and sand the edges neatly.
 Inlaid silver dot time.
 The silver for the top of the ring. I wanted it to be tapered to go well with the tapered wood section.
 The silver with the drill dots and soldered silver wires.
 The silver bent into shape and oxidised.
 The finished ring.


